Showing posts with label family. Show all posts

Wednesday, January 25, 2012

Day 9: Chocolate Chip Cookies with Walnuts

There were two things we could always count on when we walked into our Grandma and Grandpa Caponi's house. First, my grandma would give us a hug and immediately ask: "Are you wearing an undershirt?" Before we could answer, she was tugging on our shirt collars to check.

The second was that Grandma always had homemade cookies (among other things) available for us. And just to be clear, that had to be a HUGE task. My dad is one of six children, all were married and there were 18 of us grandchildren. Today, my cousins and I still can't imagine how crazy family gatherings must have been with all of us running around.
Grandma would sit and watch you enjoy her cookies with the biggest smile on her face. While you had your mouth full, she would start telling you stories about how she would pack cookies in her kids lunches and then would have to send more in the next day because their friends were raving about how delicious they were.

As the years went by we grew up, got married ourselves and starting having our own children. Through it all Grandma was still baking and telling her now great grandchildren the same stories about her cookies. It didn't take my boys long to learn that when they walked into Grandma and Grandpa Caponi's house the first thing Grandma would ask was: "Do you want a cookie?"

I would call my grandma quite often while I was beginning to bake. I would ask her question after question. "How do you get your cookies so perfectly round?" "What flour do you use?" "Why won't my cookies rise like yours?" "Why do you use the mini chocolate chips?"

With each question, she gave me a very simple answer. I would go back, make adjustments and the cookie would be better. I soon realized that as much as we enjoyed talking about her wonderful cookies there was NO WAY she was going to give me all of her secrets all at once.

It wasn't until Christmas 2004 that she finally had a cookie I made and couldn't tell if it was hers or mine....Success!!!

It has been 2 years since my Grandma Caponi passed away. I am so happy that my children got to know her and will always be thankful for what she taught me.


Chocolate Chip Cookies with Walnuts


2 1/4 cups of flour
1 teaspoon of baking soda
1 teaspoon salt
1 cup of butter
3/4 cup of sugar
3/4 cup of packed brown sugar
1 teaspoon of vanilla
2 large eggs (Grandma C tip...If you use smaller eggs, add an additional egg yoke)
1 cup of mini chocolate chips
1 cup of walnuts

Preheat oven to 375 degrees
Sift dry ingredients together set aside.
Mix butter, sugar, brown sugar, and vanilla together.
Add eggs one at a time. Mix well.
Slowly add dry ingredients.
Stir in chocolate chips and walnuts.
Place rounded teaspoon of dough on a cookie sheet.
Bake for 8-10 minutes.
Cool on cookie sheet for 2 minutes.
Transfer to a wire rack to finish cooling.


A great time saving tip is to make extra base dough to use for different cookies. Label and refrigerate the extra dough. When you are ready to bake bring the dough to room temperature and then stir in additional ingredients.


One more day until the Chocolate Chip Cookie winner is revealed! 


Sunday, January 22, 2012

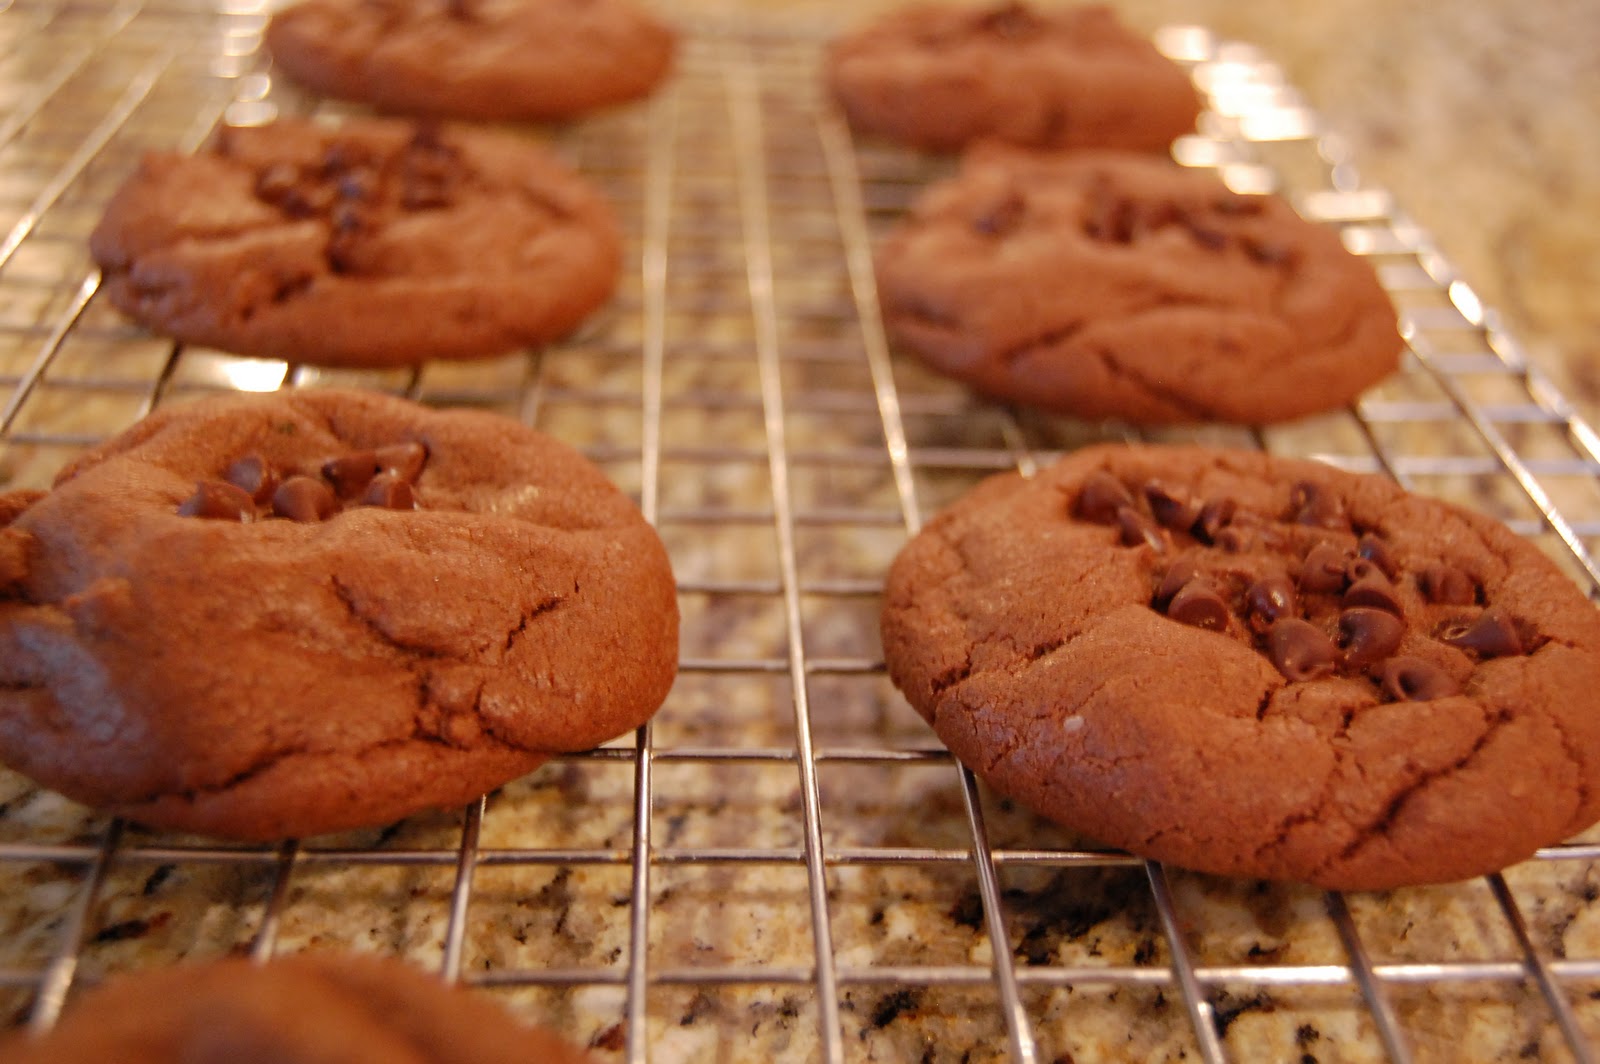
Day 6: Double Chocolate Mint Cookies

It is that time of year again! Every adorable little girl you know will be asking you to buy those irresistible boxes of goodness. Otherwise known as girl scout cookies.

We were at my aunt and uncle's house last week and my cousin's adorable daughter was selling cookies for the first time.
She started out a little shy, but boy did she open up once she realized that not one of us could say no to her beautiful little face. By the end of the night she was so excited. She was holding the order form shouting: "Daddy, Daddy I earned my patch!!!"

Girl scout cookies pretty much sell themselves. One of our favorites are the thin mints (especially when they are frozen, yummm!).


The idea of the delicious combination of mint and chocolate inspired this cookie of the day. I found this recipe on a great blog by Jennifer Hill a Vancouver dietitian and a seeming cool chick, foodess.com.


Double Chocolate Mint Cookies
(adapted from gourmet magazine found on foodess.com)


1 cup butter, softened
1 3/4 cups sugar
2 eggs
2 tsp peppermint extract
2 cups all purpose flour
1 cup cocoa
1 tsp baking soda
1/2 tsp baking powder
1/2 tsp salt
1 cup chocolate chips


Preheat the oven to 350 degrees.
Using an electric mixer, beat butter and sugar in large bowl until well blended.
Beat in eggs and peppermint extract.
Gradually add flour, cocoa powder, baking soda, baking powder and salt and beat until well blended. Stir in chocolate chips.
Form dough into 1-inch balls. Place 2 inches apart on baking sheets.
Flatten balls slightly.
Bake cookies until edges begin to firm but center still appears soft, about 9 minutes.
Cool on baking sheets 5 minutes.
Transfer cookies to racks and cool completely.


OOPS!!! Well...this is a challenge and with this recipe I made a couple of BIG mistakes. The cookies look good, but in my opinion tasted like you were biting into an Altoids!

I had to work in the morning (I work part time at a friend's church for a mom's day out program) and we had a teacher meeting after the kids went home. I usually will be back home after work by 12:30pm. Today, I didn't walk into the door until almost 2:00pm. I immediately started in on the day's batch before I had to leave to pick Noah up from middle school at 2:45pm.

Being crunched for time I got careless. I misread the recipe and added 2 TABLESPOONS of mint extract to the dough, then I forgot to add the chocolate chips! I decided to add the chocolate chips to the top and to bake the cookies with the...let's just say extra...amount of mint flavor.

Expecting the worse as the kids tried their daily cookie, I was surprised with their reactions.


Noah: "Love 'em. Spectacular. Fantastic."


 Ian: "Good, VERY good. I love it!"


Dane: "Minty!"
If you haven't noticed by now, Dane is a little camera shy.
 Eventually I may get a picture of him eating a cookie (I'm not making any promises).


Saturday, January 21, 2012

Day 5: Maple Syrup Cookies

We at the Z household are still nursing our holiday hangover. We had such a great end to 2011. We attended and had parties, spent time with family and friends, went to see Wicked at the Detroit Opera House and even told the boys we will be taking a family trip to Disney in February.

One of my favorite traditions is sitting with the boys and watching Christmas movies. Our top pick for the past couple years has been the hilarious movie, Elf. The boys cannot get enough of Buddy the Elf. They even convinced their grandmother to let them adorn their pasta with syrup!! Seriously, they did.


As the boys were leaving for school I asked them for some cookie suggestions.

Dane: "I know! A maple syrup cookie, just like Buddy the Elf. But, you can leave out the spaghetti."

I found a few different maple cookie recipes on allrecipe.com and adapted this one from Maple Cookies by Craig Gund.

Buddy's Maple Syrup Cookie
(adapted from Maple Cookies on allrecipe.com)


1/2 C Butter Softened
1/2 C Packed Dark Brown Sugar
1 egg YOKE ONLY
1/2 C Maple Syrup
1/2 tsp Vanilla
2 C Flour
1 tsp Baking Soda
1/2 tsp Salt
1 tsp Nutmeg
1 and 1/2 tsp of Sugar sprinkled with Nutmeg for Decoration


Preheat oven to 350 degrees.
Cream butter and dark brown sugar together.
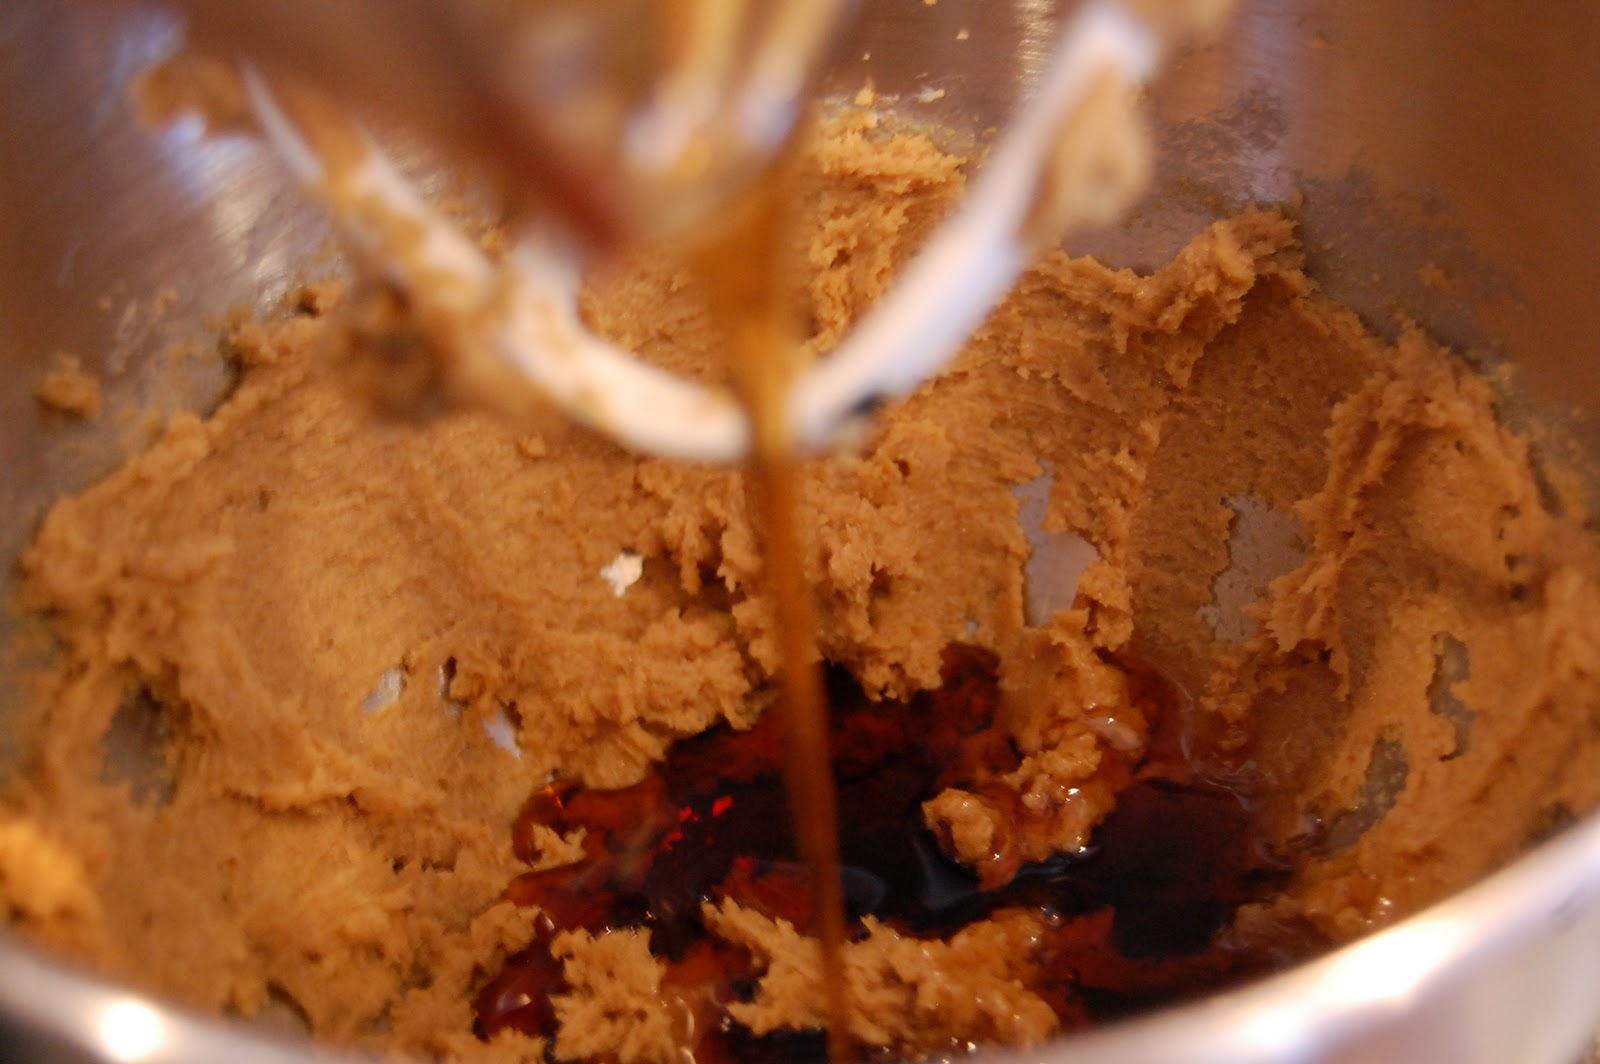
Add in egg yoke, maple syrup, and vanilla. Mix well. 


Sift together flour, salt and baking soda.


Add sifted dry ingredients to the dough and mix.
Make a teaspoon sized ball and drop it into the decorative sugar (1/4 c sugar sprinkled with nutmeg)
Shake bowl to cover the cookie dough.


Place on a cookie sheet and bake for 9-12 minutes.


Cool on the cookie sheet for 1 minute, transfer to a wire rack to complete cooling.

Ian: "Awesome."
Noah: "They taste like animal crackers."
Dane: "Buddy the Elf would love these!!"


Friday, January 20, 2012

Day 4: Oatmeal Almond Butter Cookies with Dried Cherries

A few months ago Noah and Dane saw something on the news that upset them. In today's world that could be anything. It seems like our local news is constantly reporting negative news like murders, kidnappings and robberies. My first thought when they approached me was how I was going to spin what ever they saw into something appropriate for them know.

Boy, was I shocked to find out what they were really upset about.

Noah: "Mom, did you know that Sesame Street is getting rid of Cookie Monster and replacing him with Veggie Monster???!!!"


That is when I saw Noah step onto the soap box for the first time. He went on for a good 30 minutes about how it shouldn't be Sesame Street's job to keep kids healthy. It is up to parents to teach their kids about nutrition. He also went on about how he would watch Cookie Monster every day when he was a kid (he is 11 years old) and he is not over weight. He even wrote an email expressing his concern and showing support for his favorite blue guy. 

We have since found out that Cookie was not replaced.  Now he eats more then just cookies. Cookie's diet includes fresh fruit, veggies and even oatmeal cookies which inspired me to try the recipe below.

Since the second batch of Flourless Natural Peanut Butter and Dark Chocolate Cookies were a distant memory, I decided to attempt another flourless recipe. I found this one on a great blog called Carrots-n-Cake. She used peanut butter, but I decided to change it up and use almond butter.


Flourless Oatmeal Almond Butter Cookies with  Dried Cherries
(adapted from Flourless Oatmeal Peanut Butter Cookies on Carrots-n-Cake)


1 1/4 C  Rolled Oats
1/4 C Sugar
1/4 C Almond Butter
1/2tsp Baking Powder
1 Egg Slightly Beaten
2 Tbs Butter Softened
1/4 cup of Dried Cherries

Preheat over to 350 degrees
Mix all the ingredients together except dried cherries


Place rounded teaspoons of dough on cookie sheet
Bake for 12-15 minutes until the edges of the cookies are golden brown
Cool on cookie sheet for 1 minute
Transfer to a wire rack to cool completely.


Plate and Enjoy!!!


Noah: "Not bad!"
Dane: "Wow, the cherries are really good in this cookie."
Ian: "These are not my favorite. Where is the chocolate?"
Adam: "These are fantastic!"


These cookies are not very sweet and by adding the dried cherries you will get great flavor.
Enjoy and long live Cookie Monster!!


Thursday, January 19, 2012

Day 3: Bacon Toffee Cookies

I can't remember the exact moment my family's love affair with bacon began. However,  I can tell you that today it has turned into a full on obsession!!! Bacon has found it's way into every aspect of our life. It isn't just for breakfast and BLTs anymore.

Noah borrowed a costume from a friend and became bacon for Halloween...


 ... also, we can no longer have hamburgers or meatloaf made from only ground beef. Now, my husband insists on making everything 50/50. That's 50% ground beef and 50% ground bacon. He even came up with this 50/50 stuffed meatloaf recipe that he cooked in cupcake
tins to make 50/50 stuffed meatloaf cupcakes.


Do you understand now, obsessed!  It was only logical that I attempt to make a cookie that highlighted our favorite ingredient....BACON!!!


Bacon Toffee Cookies
(loosely base on this Giant Chocolate Chip Recipe found on epicurious)


1 Package of Maple Bacon
2 1/4 Cups of All Purpose Flour
1 Teaspoon of Baking Soda
1 Teaspoon of Salt
1 Cup of Unsalted Butter, Softened
3/4 Cup of Sugar
3/4 Cup of Packed Brown Sugar
1 Tablespoon of Sour Cream
1 1/2 Teaspoons Vanilla Extract
2 Eggs
1 Cup of Toffee Chips

Preheat oven to 350 Degrees.
Place bacon on a foil lined cookie sheet and bake for 10-15 minutes or until crisp. When bacon is done place it on a plate and cover with a paper towel, let cool.
In a medium bowl sift together flour, baking soda and salt, set aside.
Mix butter, sugar, brown sugar, sour cream, and vanilla together until well blended.
Add eggs one at a time.
Slowly add dry ingredients.
Chop bacon into small pieces and add to the cookie dough.


Stir in toffee chips


Place a rounded teaspoon of cookie dough on an ungreased cookie sheet.
Bake for approximately 10-12 min until edges of the cookie are golden brown.
Remove from oven and cool on cookie sheet for 1 minute.
Transfer to a wire rack to finish cooling.


                                           Noah "Bacon Man": "Sooo good!!"


Ian: "These are golden!!!"
                                                           (Not sure what that means)

Dane: "hmmmm.....I don't like it."
(his reaction surprise me the most) 


These cookies sparked huge interest from family and friends. I guess everything is better with bacon! 


Wednesday, January 18, 2012

Day 2: Toffee and White Chocolate Chip Cookies

The first time I remember making cookies on my own I had to be about 14 years old. I recall being in my parents kitchen and going through my mom's cupboards to find all the ingredients listed on the back of the bright yellow package. I followed the directions perfectly (or so I thought). I measured the dry ingredients and set them aside. Then mixed the butter, sugars, eggs and vanilla together.

It was now time to marry the dry and wet ingredients. The recipe said to add the dry flour mixture slowly, but being only 14 years old I was just a little impatient. So I dumped the whole bowl of flour into the mixture and started to blend. Much to my surprise, the flour shot out of the bowl creating a cloud flour around me. I was covered in flour.

I did manage to get a dough of sorts onto a cookie sheet and place it into the oven. As I was cleaning up I actually thought the cookies were smelling pretty good. Then like teenagers do, I got distracted. I forgot about the cookies in the oven until it was too late.

When I pulled them out they were as hard as hockey pucks, and that good smell from earlier was trumped the obnoxious stench of burnt chocolate.

Fast forward to today. I have since mastered the Nestle Toll House Cookie Recipe and have found that it is a great base for almost any cookie you would like to make.

We were having a few friends and their kids over the other night so I wanted to make more of a kid style cookie. I looked through my pantry and saw I had some white chocolate chips and a bag of toffee pieces and decided to make the cookies below.


Toffee and White Chocolate Chip Cookies


2 1/4 cups all-purpose flour
1 teaspoon baking soda
1 teaspoon salt
1 cup (2 sticks) butter, softened
3/4 cup granulated sugar
3/4 cup packed brown sugar
1 teaspoon vanilla extract
2 large eggs
1 cup of white chocolate chips
1 cup of toffee pieces

Preheat the oven to 350 degrees
In a bowl sift (I am a big fan of sifting my dry ingredients. Here is a great article by


 to help explain Why Sift?)  the dry ingredients together, set aside.
Mix the butter, white sugar, brown sugar and vanilla extract together until creamy.
Add eggs one at a time.
SLOWLY mix in the dry ingredients
Stir in in white chocolate chips and toffee chips.
Drop rounded teaspoons on a cookie sheet.
Bake for 8-10 minutes.
Cool on the cookie sheet for 1 minute then transfer to a wired rack to cool completely.


Noah: "Not bad!!"

                                            
                                                 Dane: "Awesome!!"


                  Ian: "The white chocolate tastes like REAL chocolate!!"


The cookies were a big hit with the kids and Noah's buddy even asked if he could take some home. These would be a great alternative to the everyday chocolate chip cookies. 


Tuesday, January 17, 2012

Day 1: Flourless Natural Peanut Butter and Dark Chocolate Chunk Cookies

My husband, Adam, just finished reading  The Primal Blueprint by Mark Sisson and asked if I could make a cookie that followed some of principals he read about. What that meant was making a cookie with NO flour, NO sugar and using all natural products. Oh, and it needs to taste good too, Ummm...that's not how Grandma used to make cookies!!!

Well, this is a challenge and creating something new will be much more fun then making the same cookies everyday, Right!?

I looked up different flourless cookie recipes online and found a great one by Claire Robinson on the food network website. Since this recipe called for 1 cup of sugar, I had to make one adjustment.

I replaced the sugar with Organic Blue Agave Sweetener (this can be found in almost every market since Dr. Oz mentioned it on his show).


 NATURAL PEANUT BUTTER AND DARK CHOCOLATE COOKIES
(adapted for Claire Robinson's recipe above)


1C Natural Peanut Butter
1/2 C of Organic Blue Agave Sweetener (you can use more or less depending on taste)
1 Organic Egg slightly beaten
1 TSP of Natural Pure Vanilla Extract
1 72% Cocoa Dark Chocolate Bar (Trader Joe's has the perfect size or you can use 1/2 of a Girardelli Intense Dark bar)
Sea Salt


Preheat the oven to 350 degrees
Mix the first four ingredients together  
Place the 72% Cocoa Bar in a zipper sandwich bag and break chocolate bar using a rolling pin or the dull side of a meat mallet.
Add chocolate chunks to the mixed dough.
Form the dough into a circle and place on an ungreased cookie sheet.
Using a fork make a crosshatch pattern. Be careful not to press too hard, the cookie will crumble.
Sprinkle a little sea salt on top of each of the cookies (this really makes these cookies sing!).
Bake for 8-10 minutes
Remove cookies from oven and let them cool for 1 minute on the cookie sheet. Then transfer them to a wired cookie rack to cool completely.
Enjoy!


 Ian: "Amazing and Amazing!!!"

Dane: was speechless

Noah: "OMG!!!"

Adam worked late that day. By the time he got home there was only one cookie left. Luckily, this was a very simple recipe so I whipped up a second batch for him the next day.